Diy 3D Flower Pop Up Card Step By Step. This let's the rest of the flower move. It is really easy to make and can be cut and assembled very quickly.
Finally, add the two pieces of 9.5″ x 12″ cardstock to the outer sides of the card for a more decorative look. Make any adjustments necessary now before you move on to the next step. This simple pop up flower card is similar to the first idea in terms of how it's made however, this one is much simpler, smaller and takes less time to make.
Apply Glue To The Petal Marked In The Picture.
This let's the rest of the flower move. Easy st david's day crafts for kids 3d pop up flower card.
2.0.1 Prepare 3 Pieces Of The A4 Cardstock With Your Favorite Colors.
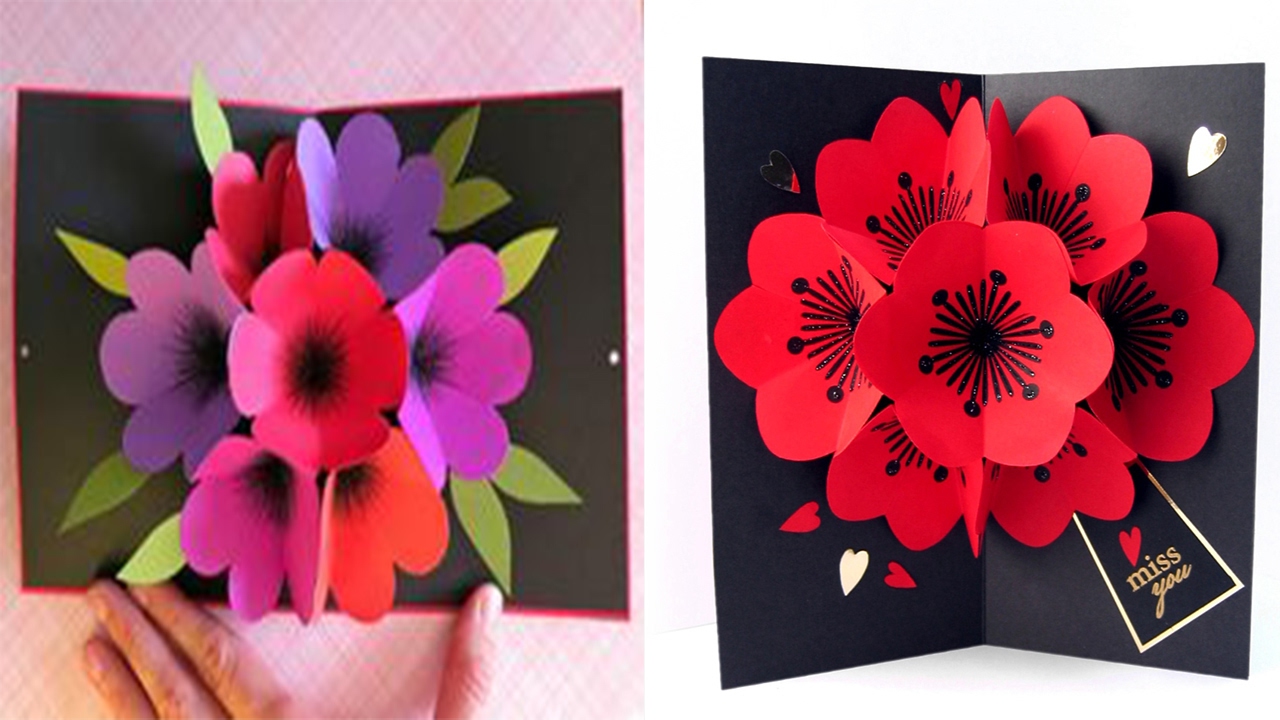
St david's day card ideas. You will need seven flowers, 8 petals each. Close card, and press firmly to adhere.
Apply Glue To The Upper Part Of The Flower Petal Marked With The Dot.
Step by step pop up card how to: How to make pop up cards step by step are included in each individual post. Turn your card so that the long uncut panel next to the thin strip is facing on the left.
Learn With This New Method To Make This 3D Shape Diy Flower Pop Up Card Made Up Of Creep Paper (Tissue Paper,Wax Paper Can Also Be Used ) Very Easy To Make At Home
So here we have brought you these 30 diy paper flowers that you can enjoy to create some adorable and cute paper flowers of your own. (photo 1) align and glue the flowers to the central line of the card. You can use this greeting card for any occasion
Close The Card, So The Upper Flower Can Stick To The Card, Too.
I use a pack of mixed blue card stock for the blue flower card, and a pack of pink and ivory card stock for the pink flower card. Layer your paper 5 times and cut out 3 yellow circles and 2 black circles in one go. Align the template(s) on the card blank's folded edge and trace.


0 Comments